Step-by-Step Guide to Preparing Your Walls for a New Paint Job Jan 30, 2026
Start by examining the condition of your walls. Identifying cracks, stains, or peeling paint is crucial in determining the preparation steps. Walls with such issues might require more extensive work compared to freshly finished or well-maintained surfaces.
Once you've assessed the walls, your next step is to clean them thoroughly. Dust, dirt, and grease can prevent paint from adhering properly, leading to a subpar finish. Use a damp sponge or cloth with a mild detergent to wipe down the surfaces. Ensure you rinse off any soap residue and let the walls dry completely before you proceed.
For surfaces with peeling or flaking paint, it’s imperative to scrape away the old paint. Utilize a professional scraping tool and ensure all the loose parts are removed. Sanding the area after scraping will smooth out any rough edges, creating an even surface for your new coat of paint.
If your walls have imperfections like holes or cracks, they will need to be filled and patched. Use a suitable filler or spackling paste to address these issues. Once applied, let the filler dry as directed. Sand the patched sections lightly to ensure they’re flush with the rest of the wall. This step is particularly important for achieving a smooth finish free of blemishes.
Applying a primer is an essential step that many homeowners overlook. Primers serve multiple purposes; they adhere to the surface better than paint and provide a consistent base for your topcoat. This step is particularly important in rooms with high humidity or for walls that have been patched extensively. Choose a primer that suits the type of paint you’ll be using, whether it’s latex or oil-based.
Protecting the surfaces you don’t want to paint is the next critical step. Use painter’s tape along the edges where the wall meets ceilings, moldings, and adjoining walls of a different color. This ensures a clean line and prevents paint from bleeding onto areas you wish to keep paint-free. Drop cloths or plastic sheeting should be used to cover floors and furniture to prevent unwanted splatters.
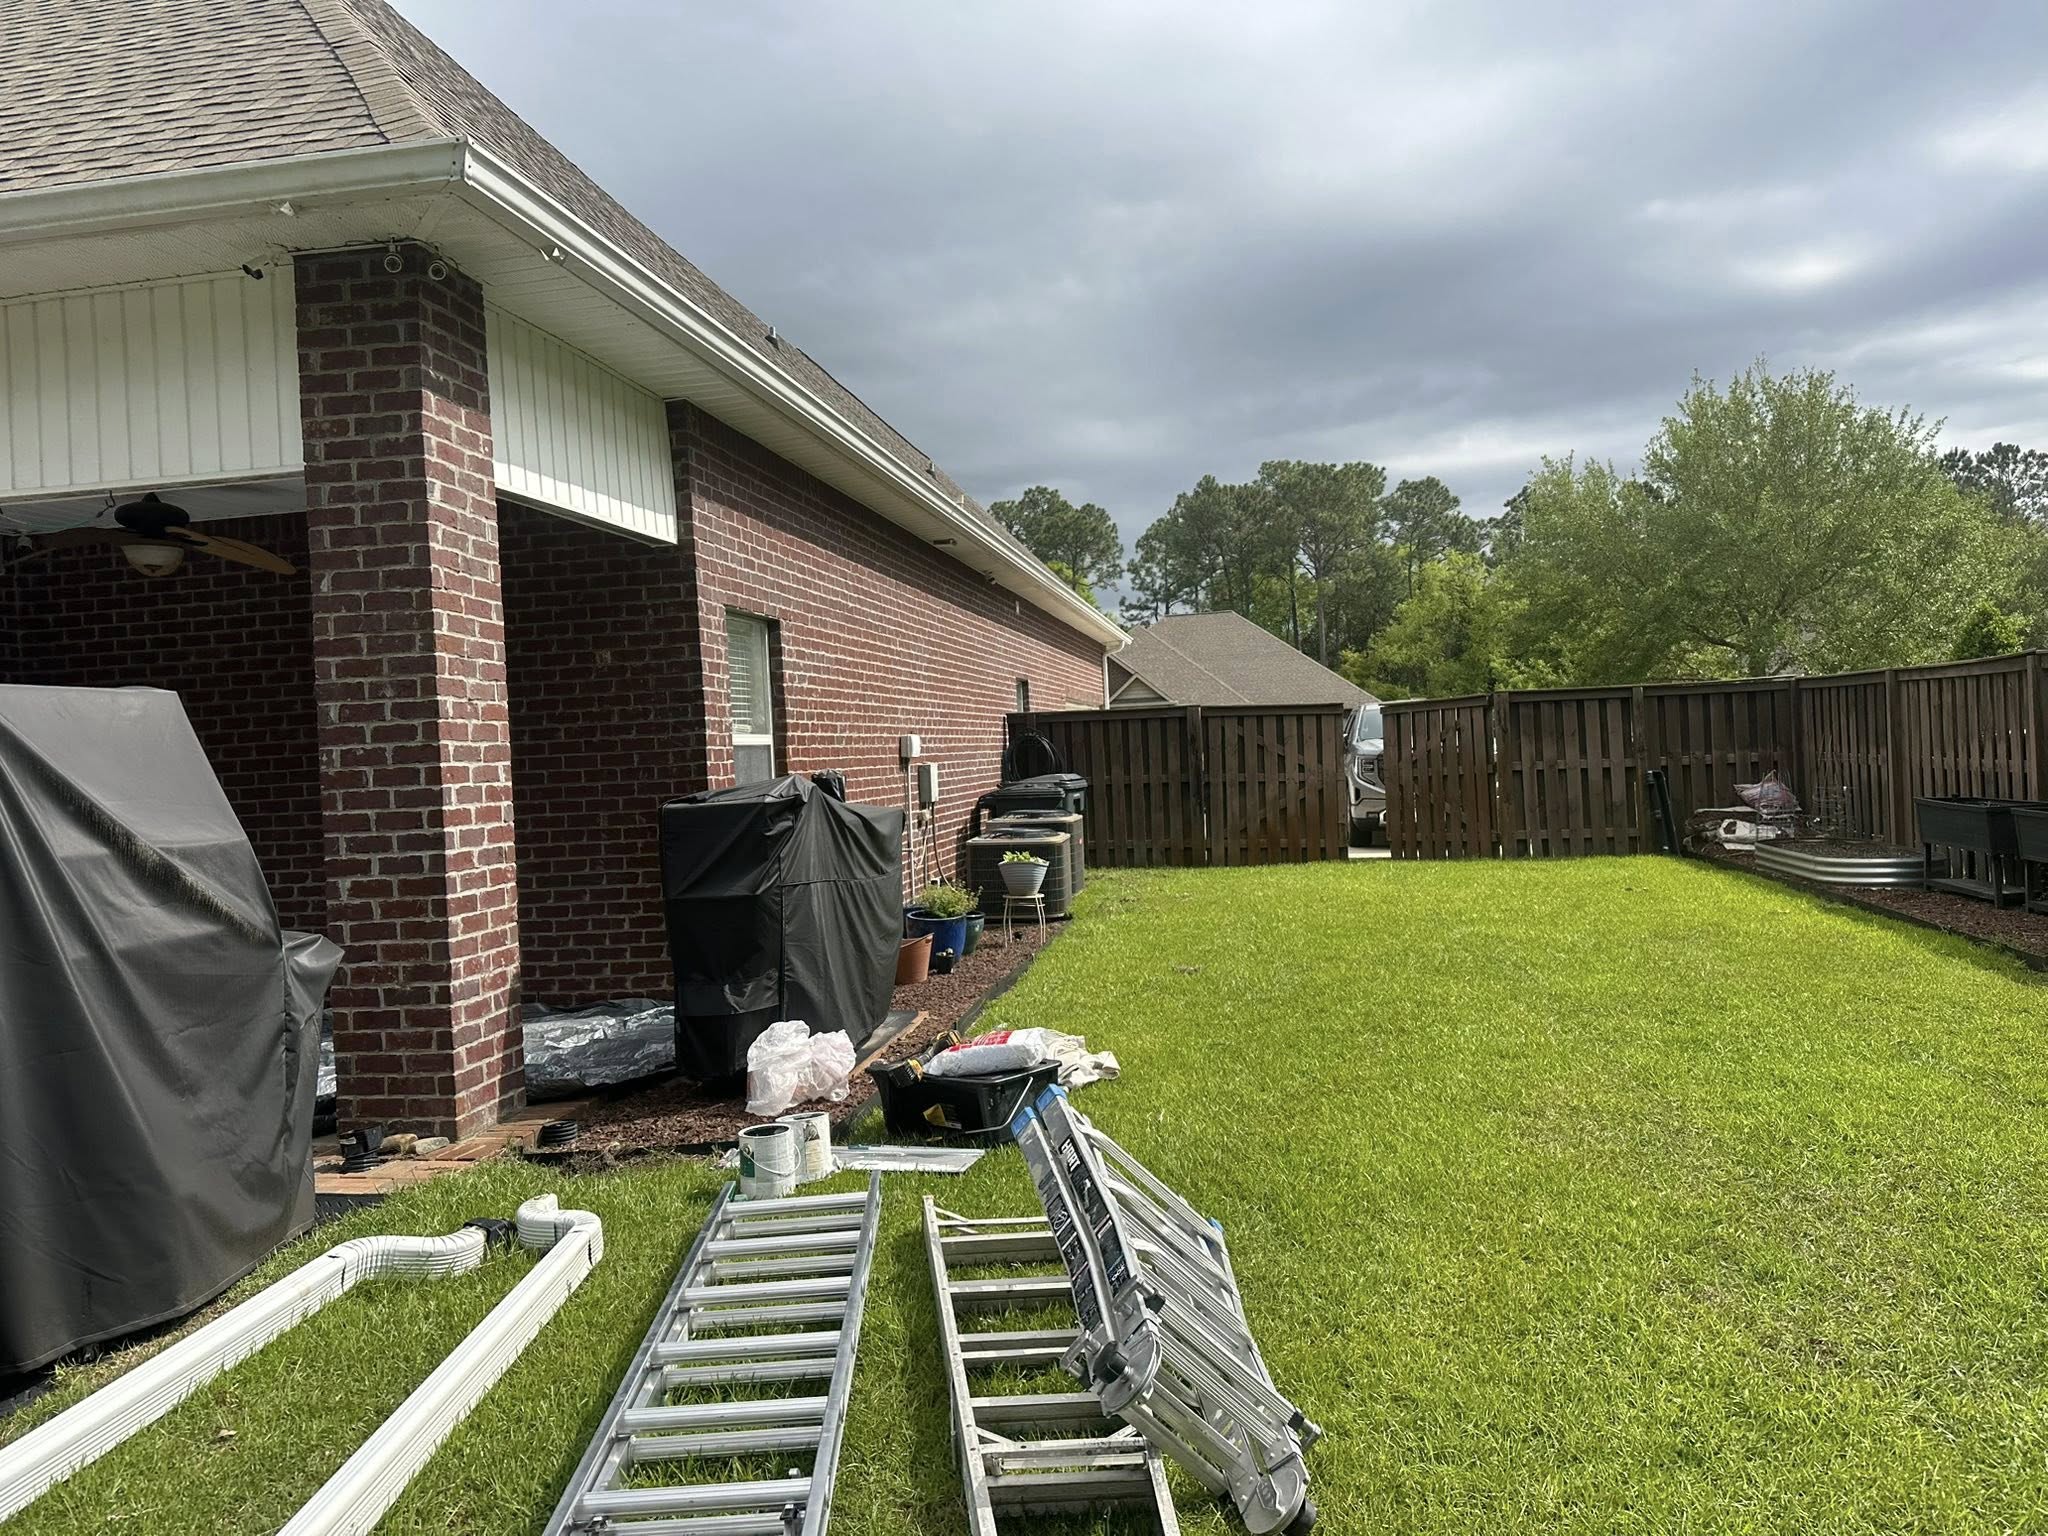
Finally, take a moment to gather all the necessary tools before beginning to paint. Have your brushes, rollers, trays, and extension poles ready. Preparing adequately not only speeds up the painting process but also ensures your focus remains on delivering a high-quality paint job without unnecessary interruptions.
With these steps, you're well on your way to a beautiful, professional-quality paint job. By properly preparing your walls, you ensure that the fresh coat not only adheres better and looks more vibrant but also stands the test of time. Walls N All Painting recommends following these expert steps for every painting project, guaranteeing stunning results and a transformed living space.
/filters:no_upscale()/filters:format(webp)/media/4ddbcac8-f100-467c-87e7-056a5c43b323.jpeg)